How To Sand Wood Floors: Expert Floor Sanding Tips And Tricks
Wood floors have always been a sought-after feature in homes, adding a touch of elegance and warmth to any space. However, over time, these floors can lose their lustre due to wear and tear, scratches, and the accumulation of dirt and grime.
That’s where floor sanding Geelong comes in. Sanding is a process that involves removing the top layer of wood to reveal a smooth, fresh surface.
In this blog post, we will guide you on how to sand wood floors, providing our expert floor sanding tips and tricks.
Understanding the Basics of Floor Sanding
Floor sanding is a crucial step in restoring the beauty of wood floors. It involves using various sanding tools to remove the old finish, scratches, and imperfections, revealing a fresh layer of wood. Before embarking on your floor sanding journey, it’s essential to understand the basics.
Wood floors suitable for sanding typically include solid hardwood, engineered wood, and some bamboo floors. However, it’s essential to check with a floor sanding Geelong professional to ensure your specific floor can be sanded without causing damage.
Safety precautions are also paramount during floor sanding. Wear protective gear such as safety goggles, a dust mask, and ear protection. Additionally, it’s crucial to ensure proper ventilation in the room you’re working in to avoid inhaling harmful dust particles.
-
Preparing for Floor Sanding
Proper preparation is key to a successful floor sanding project. Here’s a step-by-step guide and floor sanding tips to help you prepare your room for sanding:
- Remove all furniture and objects from the room to create a clear workspace. This will prevent damage to your belongings and allow easy manoeuvring during the sanding process.
- Cover any vents or openings with plastic or tape to prevent dust from spreading throughout your home.
- Inspect the floor for any damage or imperfections. If you come across loose boards, cracks, or gaps, make the necessary repairs before sanding. This will ensure a smooth and even surface.
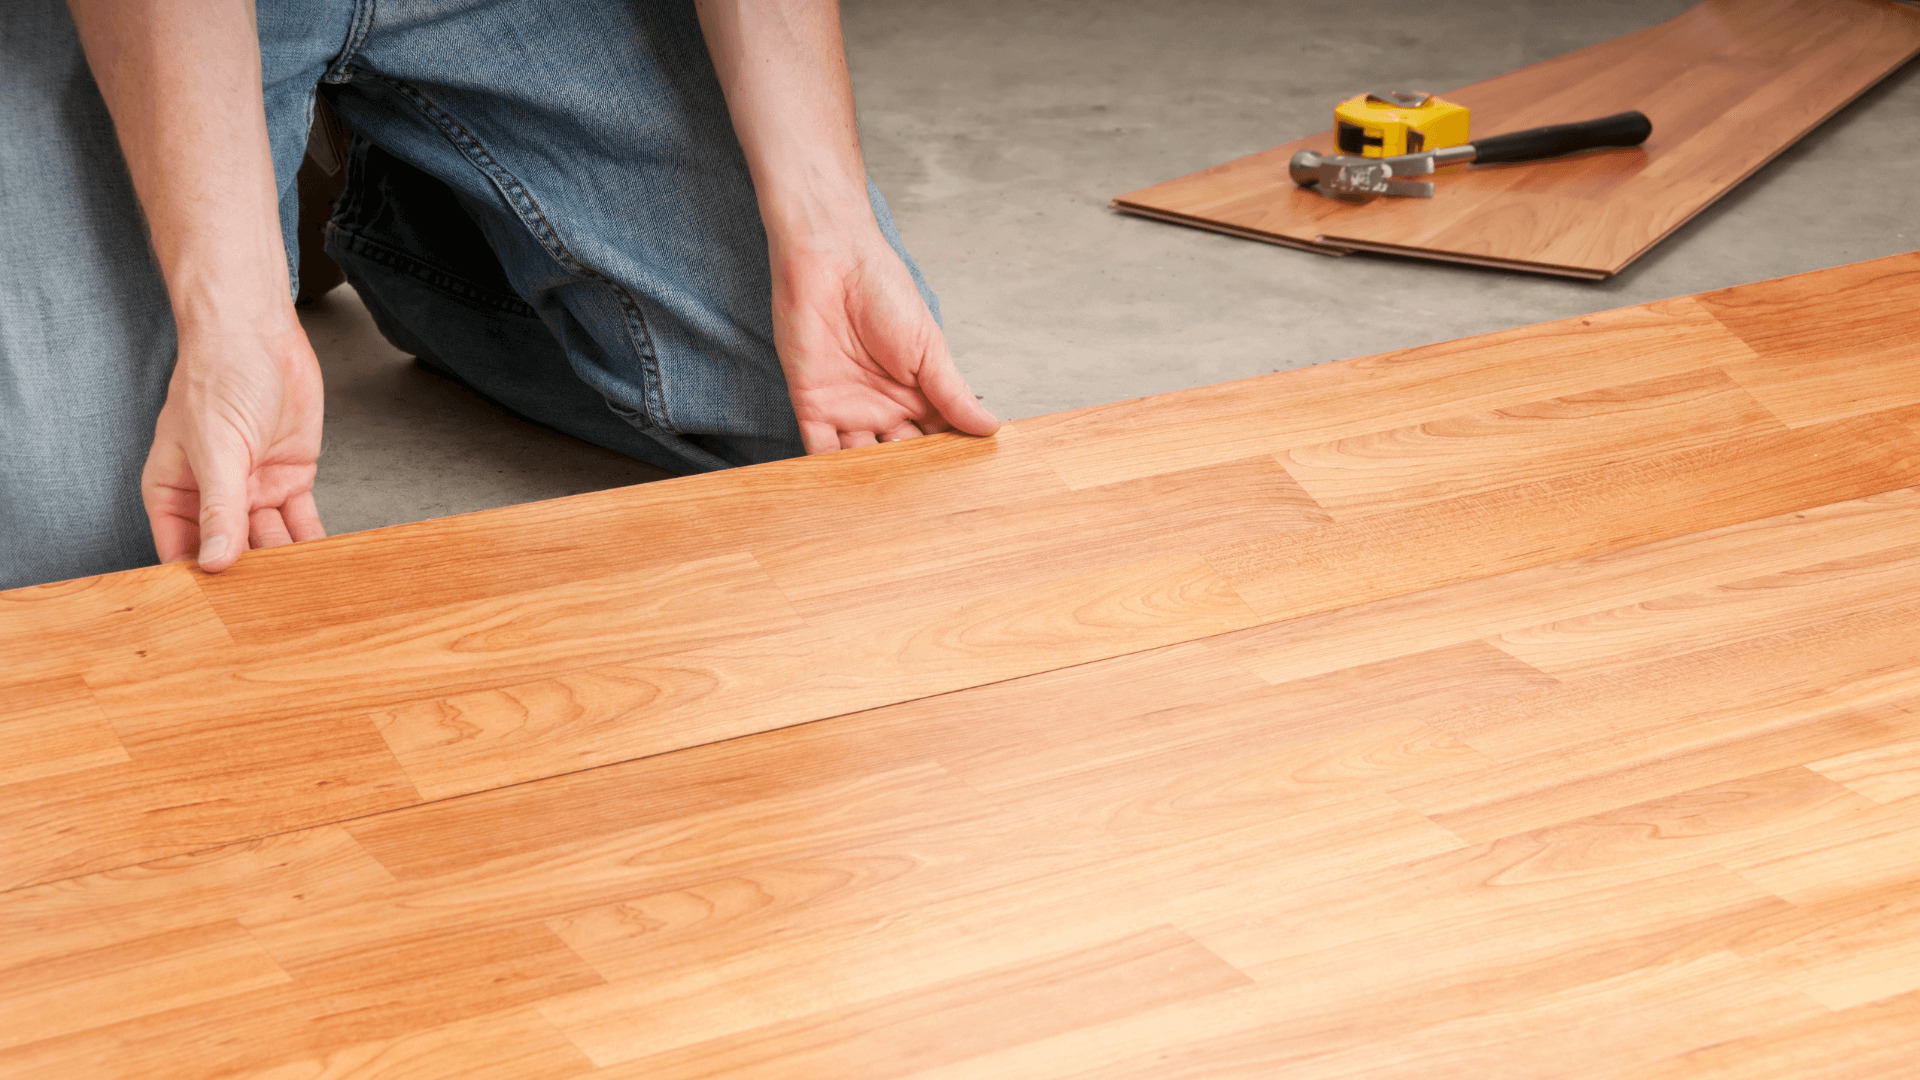
2.Choosing the Right Tools and Equipment
It’s essential to use the right tools and equipment for the job to achieve professional results. Here are some essential tools that we use to provide professional floor sanding services:
- Belt sanders: These powerful machines are ideal for removing old finishes and levelling the floor. They come in various sizes, so choose one that suits the size of your project.
- Edgers: Edgers are designed to sand along the edges of the floor where the belt sander cannot reach. They are crucial for achieving a consistent finish throughout the entire floor.
- Orbital sanders: Orbital sanders are excellent for smoothing imperfections and achieving a finer finish. They are lightweight and easy to handle, making them ideal for sanding smaller areas or hard-to-reach spots.
When it comes to sandpaper, different grit sizes serve other purposes. Coarse grit sandpaper (around 40-60 grit) is used initially to remove the old finish or deep scratches. Medium-grit sandpaper (around 80-100 grit) is then used to smooth out any imperfections left by the coarse grit paper. Finally, fine grit sandpaper (around 120-150 grit) is used to achieve a polished surface for the final sanding stage.
3. Step-by-Step Guide to Proper floor sanding Geelong Technique
- Starting with Coarse Grit Sandpaper
Begin by attaching the coarse grit sandpaper to your belt sander. Start in a corner of the room and work across the floor, moving with the grain of the wood. Apply even pressure as you move the sander back and forth, ensuring you cover the entire surface. Be careful not to linger in one spot too long, as it may result in an uneven surface. Continue sanding until you have removed the old finish or deep scratches.
- Moving on to Medium Grit Sandpaper
Once you have completed the initial sanding with the coarse grit paper, it’s time to switch to medium grit sandpaper. This step is crucial for achieving a smooth and even surface. Use an edger to sand along the room’s edges, then switch to an orbital sander for the main floor area. Move the sander in a diagonal pattern to ensure evenness. Remember to maintain consistent pressure throughout the process.
- Finishing with Fine Grit Sandpaper
The final sanding stage involves using fine grit sandpaper to achieve a polished surface. Attach the fine grit sandpaper to your orbital sander and work across the floor, following the grain of the wood. Take care to avoid over-sanding or creating uneven areas. This stage is about achieving a smooth finish, so pay attention to detail and take your time.
4.Cleaning Up After Sanding
Sanding wood floors generates a significant amount of dust. To ensure a clean and dust-free environment, follow these hardwood floor sanding tips:
- After each sanding stage, use a broom or vacuum cleaner with a brush attachment to remove dust from the floor. Pay special attention to corners and edges where dust tends to accumulate.
- Use a damp cloth or mop to wipe down the entire floor, removing any remaining dust particles. Ensure the cloth or mop is only slightly damp to prevent excess moisture on the wood.
- Allow the floor to dry completely before moving to the next sanding stage or applying polish.
5.Final Steps: Polishing and Finishing Touches
After sanding, it’s time to apply polish or sealant to protect and enhance the beauty of your newly sanded floors. Follow these steps for a professional finish:
- Choose a polish or sealant compatible with your wood floor. Read the manufacturer’s instructions carefully and ensure proper ventilation during application.
- Apply the polish or sealant using a clean, lint-free cloth or applicator. Work in small sections, moving with the grain of the wood. Allow each coat to dry completely before applying additional coats.
- For added protection and shine, consider buffing the floor with a buffing machine or pad attached to a handheld drill. This will help to distribute the polish evenly and achieve a smooth, lustrous finish.
Conclusion
Sanding wood floors can be challenging, but you can achieve professional-looking results with the proper knowledge and tools. In this blog post, we have covered the importance of professional floor sanding Geelong, the basics of floor sanding, and the steps involved in preparing for sanding. And, Total Floor Service would be your right choice as our professionals know how to follow these above steps of floor sanding like a pro. So, grab your phone and book our professional floor sanding service from our site.







 Address:
  Phone:
  ABN: 63 602 512 489


