
How Timber Floor Polishing Adds Value To Your Property?
In the competitive property market, homeowners are constantly looking for practical ways to enhance their property’s appeal and value. One highly effective yet often overlooked solution is timber floor polishing.
Timber floors bring warmth, character, and a timeless aesthetic to any interior, and when properly polished, they offer much more than just visual appeal.
This professional treatment not only revives the look of tired or worn-out flooring but also contributes significantly to a property’s market value. In this blog, we will explore how timber floor polishing Melbourne can add lasting value to your home or investment property.
Enhancing First Impressions
The Visual Impact of Polished Floors
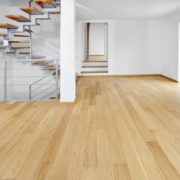
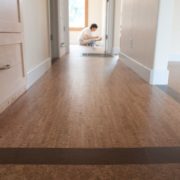
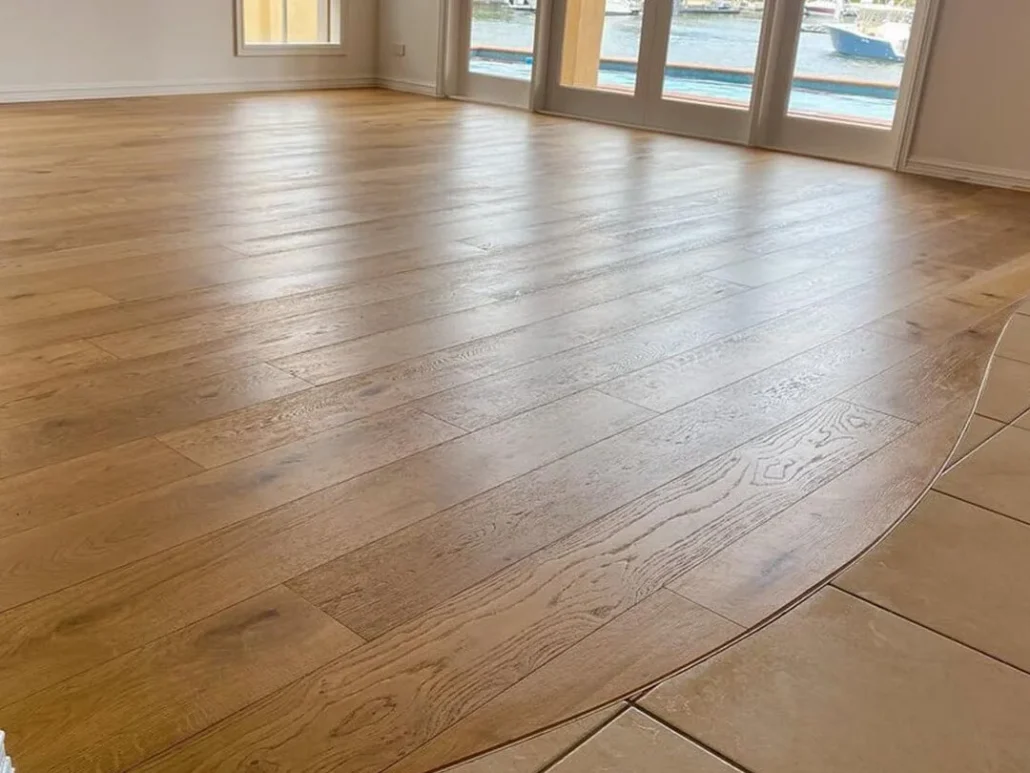
First impressions matter, particularly when it comes to real estate. Potential buyers or tenants often form an opinion within seconds of entering a property. Polished timber floors create an immediate sense of cleanliness, elegance, and attention to detail.
They reflect natural light, enhance the overall ambience of a room, and present a space that looks well cared for and professionally maintained.
Influence on Buyer Perception
A home with beautifully polished timber floors communicates that the property has been looked after. This perceived level of care influences buyer confidence and can positively impact their decision-making process.

Boosting Property Value
A Cost-Effective Upgrade
Compared to full-scale renovations, timber floor polishing is a relatively low-cost improvement that delivers high returns. For homeowners preparing to sell or lease their property, investing in timber floor polishing Melbourne can result in a higher selling price or increased rental income. The upgraded look contributes to a premium feel without the associated high costs.
Increased Market Appeal
Modern buyers and tenants prefer homes that require minimal immediate maintenance. A property with newly polished floors feels move-in ready and eliminates the need for flooring upgrades post-purchase. This makes the property more attractive to a broader pool of potential buyers.
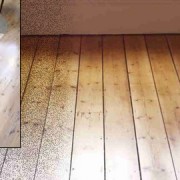
Reviving the Natural Beauty of Timber
Restoring Character and Texture
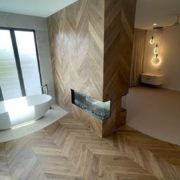
Timber floors have natural charm, but over time, they may become dull or scratched. Professional polishing brings out the grain, colour, and texture of the wood, restoring its original beauty. Whether the finish is matte, satin, or gloss, the result is a floor that looks rich, refined, and inviting.
Timeless Style
Unlike carpet or tile trends that can quickly become outdated, polished timber remains stylish across decades. This timeless appeal ensures that the flooring continues to add value long after the polishing has been completed.
Long-Term Durability and Protection
Shield Against Wear and Tear
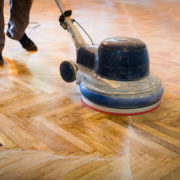
Polishing does more than enhance appearance. It also provides a protective layer that safeguards the timber from everyday damage such as foot traffic, spills, and furniture movement. With quality timber floor polishing Melbourne services, floors become more resilient and require fewer repairs in the future.
Extending Floor Lifespan
Properly maintained, polished floors can last for decades. The investment in polishing extends the life of the timber, reducing the need for costly replacements and ensuring the flooring remains a strong selling point for years.
Improved Maintenance and Hygiene
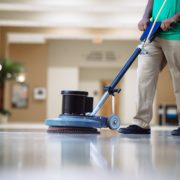
Low Maintenance Requirements
Once timber floors are polished, they are easier to clean and maintain. The smooth surface prevents dirt and grime from accumulating, and regular sweeping or mopping is typically all that is needed to keep them looking pristine.
Health and Hygiene Benefits
Polished timber floors do not trap dust, allergens, or pet dander like carpets do. This makes them a healthier choice for households, particularly for families with allergies. For health-conscious buyers, this feature adds extra appeal to the property.
Adaptability to Interior Design
Matches Various Styles
Polished timber floors are highly versatile. They suit a wide range of interior styles, from contemporary and minimalistic to traditional or rustic. Their adaptability makes them an attractive feature for many prospective buyers with different design preferences.
Tailored Finishing Options
Depending on the desired look, homeowners can choose the level of gloss that best suits their interior. This customisation adds to the flooring’s ability to enhance overall home design and boost appeal.
Supporting Eco-Friendly Property Upgrades
Sustainable Flooring Solution
Timber is a renewable resource, and choosing to polish existing timber floors rather than replace them supports sustainability. By maintaining and preserving the existing flooring, homeowners reduce waste and contribute to a more eco-friendly approach to property improvement.
Increased Rental and Sale Opportunities
Competitive Advantage in the Market
With polished floors, rental properties stand out. Clean, well-finished floors attract reliable tenants and can justify higher rental rates. Similarly, homes on the sales market with polished flooring often draw more interest and secure faster offers.
Enhanced Property Photography
In an era where online listings play a significant role, the visual impact of polished floors in photos can significantly improve a property’s presentation. Reflective surfaces and clean finishes translate well in pictures, encouraging more inquiries and viewings.
Conclusion
Timber floor polishing is a strategic investment that provides both aesthetic and financial returns. From enhancing first impressions and restoring natural beauty to increasing durability and property value, the benefits are extensive and lasting.
Whether you are preparing your home for sale, seeking better rental returns, or simply aiming to enhance your living space, professional timber floor polishing Melbourne services offer a practical and elegant solution.
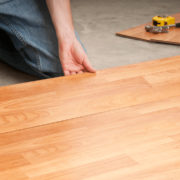
By reviving your timber floors, you are not only enhancing your property’s charm but also adding tangible long-term value. Total Floor Service offers expert timber floor polishing that brings out the natural beauty and shine of your wooden floors.
Our experienced team uses high-quality equipment and proven techniques to achieve smooth, long-lasting results. We help restore worn-out floors and add value to your space with a fresh, polished finish.


 Address:
  Phone:
  ABN: 63 602 512 489


