How to Do Concrete Polishing the Right Way?
Hey there, DIYer! Ever thought about polishing up that drab concrete floor or countertop in your home?
Concrete polishing can transform dull, stained concrete into a high-gloss, smooth surface that looks amazing.
But where do you start when you’ve never polished concrete before? Don’t sweat it – we’ve got you covered.
In this complete beginner’s guide to Concrete Polishing Melbourne you’ll learn everything from what equipment you need to how to prep and polish the concrete for a flawless finish properly.
We’ll walk you through all the nitty-gritty steps and techniques so you can get pro-looking results.
Concrete polishing seems tough, but our guide breaks it down into simple, easy-to-follow instructions.
So get ready to make that concrete shine like new with the help of this starter guide!
Concrete Polishing
Concrete polishing uses abrasives to grind concrete surfaces to a smooth, glossy finish.
It exposes the aggregate stones in the concrete and polishes them to a smooth, glass-like sheen. The result is an attractive, durable flooring surface.
Concrete polishing starts with using coarse diamond abrasives to grind down the surface and open up the pores of the concrete.
As you progress through finer and finer grits of polishing pads, the scratches left behind by the previous pads are ground away, leaving behind an increasingly smooth and reflective surface.
The Polishing Process
The basic steps for concrete polishing are:
- Grinding – Uses diamond abrasives to grind down concrete and open up pores. It starts with coarse grits and progresses to finer grits.
- Honing – Finer grits continue to refine the surface and close pores. Concrete starts to become reflective.
- Polishing – Ultra-fine grits create a smooth, mirror-like finish. The final polishing pad is typically 800-3000 grit.
- Sealing (optional) – A protective sealant or wax can be applied to help protect the finish. Re-polishing may still be required periodically.
The polishing process requires water and a diamond-abrasive polishing machine to refine the surface gradually.

As successively finer grits are used, the scratches from the previous steps are ground away, leaving behind an increasingly smooth and glossy finish.
The final polishing pads produce a glassy, mirror-like sheen.
The concrete polishing Melbourne process requires patience and time. It can take multiple steps with progressively finer grits to achieve a perfectly smooth finish, but the durable, high-gloss results are well worth the effort.
With essential equipment and supplies, concrete polishing is a project many DIYers can tackle themselves to create a beautiful new flooring surface.
Benefits of Polished Concrete Floors
Polished concrete floors offer several advantages over other flooring options. They are durable, low maintenance, eco-friendly and cost-effective.
Extremely Durable
Concrete floors that have been appropriately polished can last a lifetime. The polishing process hardens the concrete by densifying it.
This makes the floor nearly impervious to damage from heavy equipment, furniture, foot traffic and moisture. Polished concrete floors won’t dent, scratch or warp under heavy use.
Low Maintenance
Polished concrete floors are easy to clean and maintain. All they require is an occasional damp mopping or sweep to keep them clean.
They won’t stain or trap dirt and dust like carpet. Polished concrete floors also don’t require waxing or stripping, saving you time and money.
Eco-Friendly
Polished concrete floors are a sustainable choice for homes and businesses. They use the existing subfloor, so installing new flooring materials is unnecessary.
The polishing process uses little water and energy compared to other flooring options.
Polished concrete floors don’t give off volatile organic compounds that can pollute the indoor air quality. They can also be recycled when no longer needed.
Cost Effective
Polished concrete floors save money in both the short and long term. Since the existing concrete slab is polished, purchasing and installing new flooring materials is unnecessary.
Maintenance and repair costs are minimal. Polished concrete floors can increase the value of a home or building. They are an affordable flooring choice that provides a high return on investment.
Overall, polished concrete floors offer lasting beauty, functionality, and eco-friendliness for homes and businesses on a budget. They are the ideal flooring choice if you’re looking for a low-cost, low-maintenance solution.
How to Do Concrete Polishing?
Before diving into the intricate world of concrete polishing, ensuring your surface is primed for the transformation is crucial.
Cleaning and repairing the concrete surface lays the foundation for a flawless finish, addressing imperfections and ensuring optimal adhesion for the polishing materials.
Cleaning and Repairing the Concrete
The first step is to clean and repair the concrete slab thoroughly. Clean the floor using a dust mop or vacuum to remove loose dirt or debris.
Fill in any cracks or holes in the concrete with an epoxy filler compound. Let the epoxy dry completely.
Grinding the Surface
Now, you’re ready to start grinding and smoothing the surface. Use progressively finer grits of diamond pads, starting with coarser pads and moving to smoother pads.
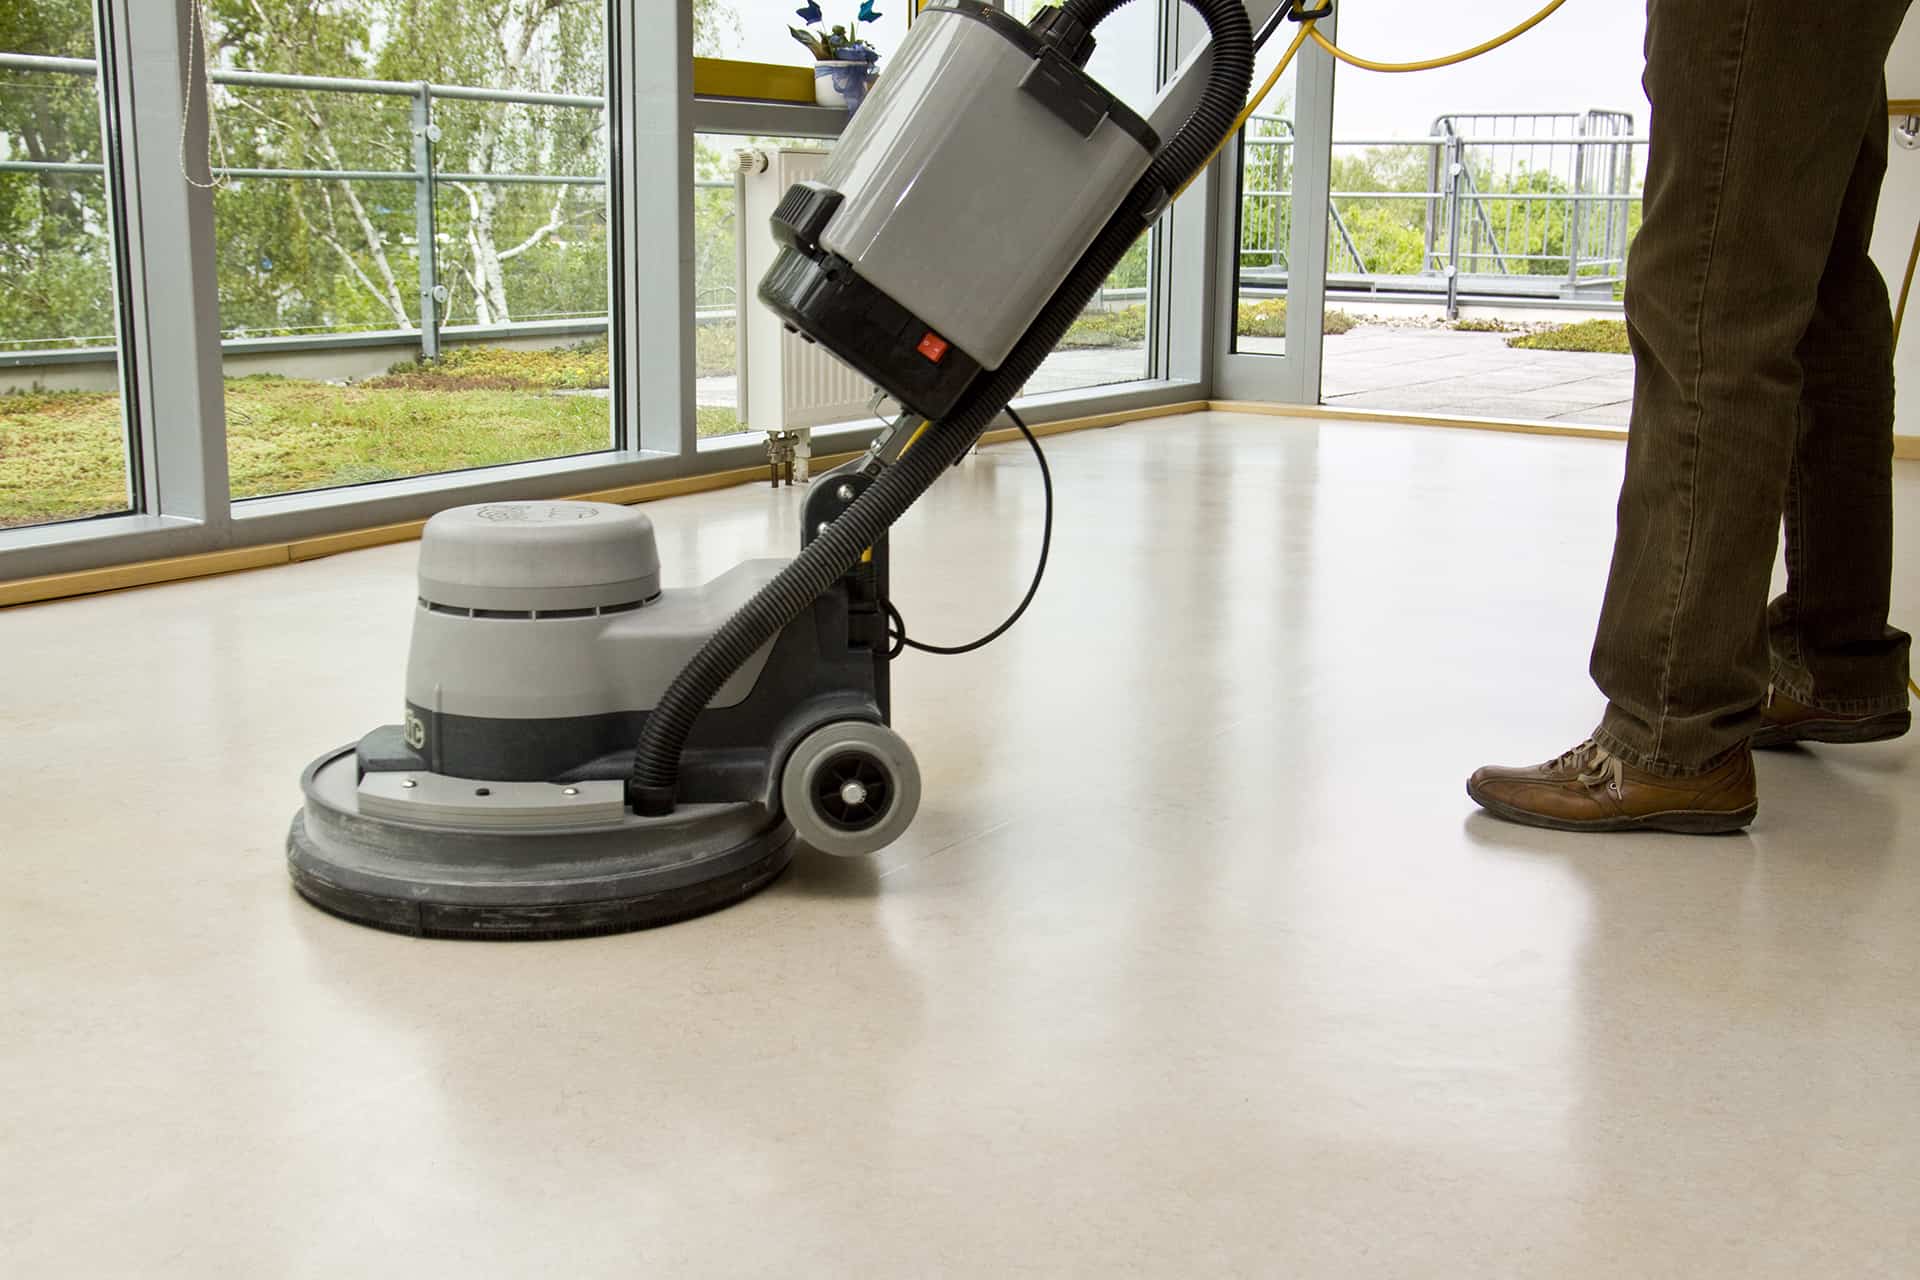
Work slowly across the floor using an angle grinder or floor polisher, passing over the entire surface with each pad. Vacuum away dust with each new pad.
Repeat with progressively smoother pads until you achieve the desired level of smoothness. You’ll need pads up to 800 grit or higher for a highly polished finish.
Applying a Densifier (Optional)
You can apply a concrete densifier or hardener for an even more challenging, glossier finish. The densifier chemically reacts with the concrete, filling in pores to create a denser surface.
Apply 2-3 coats, waiting for each coat to dry for at least 2 hours between applications. Let the final coat dry 24-48 hours before the next step.
Buffing and Polishing
Attach a buffing pad to your polisher and buff the floor using progressively finer grits, just like with the initial grinding.
Buff until the floor reaches your desired level of sheen. You can finish with a 3000+ grit polishing pad for an ultra-high gloss. Vacuum and wipe away dust with a tack cloth between pads.
Sealing the Concrete (Optional)
You can apply 2-3 coats of concrete sealer or topical protector for easier maintenance. Let each coat dry for 2-3 hours between applications. The sealer helps prevent stains and scratches and allows for easier cleaning. Reapply every 2-5 years to maintain protection.
With some elbow grease and patience, you can achieve professional-level results and a custom-polished concrete floor. The work is well worth the effort for a durable and stylish floor.
Conclusion
So there you have it – all the reasons to get started with concrete polishing.
Just remember to choose the right professionals and get the right concrete polishing Melbourne service. Total Floor Service offers top-notch concrete polishing solutions, delivering unmatched quality and durability for your surfaces.
Trust us to transform your floors into sleek, polished masterpieces that elevate the aesthetic and functionality of any space.


 Address:
  Phone:
  ABN: 63 602 512 489


